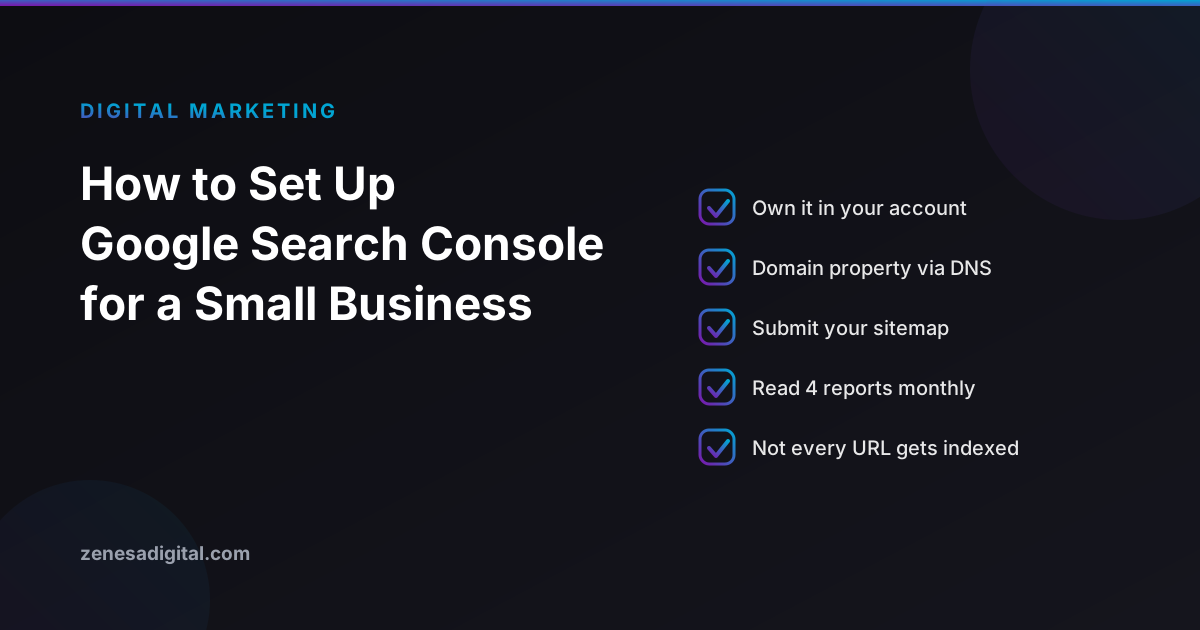
If someone asks how your website is doing in Google, there is only one place that answers from Google's own data: Google Search Console. It is free, it takes about twenty minutes to set up, and it tells you which searches show your site, which pages Google has indexed, and what is stopping the rest.
Most small business sites either do not have it, or have it set up under a former developer's Gmail address that nobody can log in to any more. We have mentioned Search Console in almost every SEO guide on this blog without ever explaining how to set it up properly. This is that explanation. Everything below is based on Google's own Search Console help documentation, not on anyone's tool or course.
What Search Console is (and what it is not)
Search Console reports how Google sees your website. It is not an analytics tool: it does not know what visitors do once they land on your pages. That is what Google Analytics is for. And it is not a ranking tool: nothing you click in Search Console moves you up the results.
What it does give you, and nothing else does:
- The searches that showed your site, with clicks, impressions, click-through rate and average position.
- Which of your pages are indexed, and a reason for every page that is not.
- A page-by-page inspection tool that shows exactly what Google last saw on a URL.
- Messages from Google about security problems, manual actions and serious site errors.
If you are paying anyone for SEO, Search Console is also how you check their work. The early signs of progress we describe in how long SEO takes to work are all visible here, months before revenue moves.
Before you start: whose Google account?
This is the decision that matters most and gets the least thought. Search Console access belongs to Google accounts, not to websites. Whoever creates the property owns it.
So sign in with a Google account your business controls: ideally one tied to a company email address that will outlive any single employee or supplier. Then add your web designer or SEO agency as a user. Do not let an agency set it up under its own account and "share it with you later". If the relationship ends badly, you lose the history, and Search Console only keeps 16 months of performance data to begin with.
It is the same principle we set out in who owns your website after launch: the accounts your site depends on should be in your name, with suppliers added as guests.
Step 1: Add a property and choose its type
Go to search.google.com/search-console, sign in, and add a property. Google then asks you to choose between two types, and this choice is easy to get wrong.
Domain property (the better choice if you can edit DNS)
A Domain property, entered as just yourbusiness.com, covers everything under that domain: every subdomain (www, shop, blog and so on) and every protocol (http and https). One property, the complete picture.
The catch is that a Domain property can only be verified with a DNS record. You need access to wherever your domain's DNS is managed, which is usually your domain registrar and sometimes your hosting company.
URL-prefix property (the fallback)
A URL-prefix property, entered as a full address such as https://www.yourbusiness.com/, only covers URLs that start with exactly that prefix. https://yourbusiness.com/ without the www is a different property. So is the http version.
In exchange, it offers more ways to verify: uploading an HTML file, adding a meta tag to your homepage, or using an existing Google Analytics or Google Tag Manager installation, as well as DNS.
The simple rule: choose Domain if you or your developer can edit DNS. Choose URL prefix only if nobody can, and make sure the prefix matches the exact version of your site visitors actually land on, including https and www or non-www.
Step 2: Verify that you control the site
Google gives you a verification token and checks that it appears where it should.
- DNS record: Google gives you a TXT record. Add it in your DNS settings, save, then click Verify. DNS changes can take a while to propagate, so if it fails straight away, wait and try again rather than adding the record twice.
- HTML tag: paste a meta tag into the
<head>section of your homepage. The most common failure is pasting it into the body, or into a page template your homepage does not use. - HTML file: upload a small file to the root of your site so it loads at
yourbusiness.com/google-something.html. - Website builders: WordPress SEO plugins, Wix, Shopify and Squarespace all have a field for the verification code. Use it rather than guessing in the DNS settings.
Leave the token in place after verification. It is what proves your ownership. Removing it to tidy up is a common way for a business to lose verified status months later without noticing.
Step 3: Add the people who need access
Under Settings, then Users and permissions, you can add other Google accounts. Google defines three levels:
- Owner: full control. Can add and remove users, change settings, view all data and use all tools. A verified owner has their own verification token; a delegated owner was granted ownership by a verified owner.
- Full user: can view all data and take some actions.
- Restricted user: simple view rights on most data.
For most small businesses, the right setup is: you (or a business account) as verified owner, your agency as a full user. An agency doing SEO work rarely needs to be an owner.
One detail worth knowing when a supplier leaves: Google notes that a removed owner can re-verify the property as long as their verification token is still on the site. Removing someone properly means removing them as a user and deleting any verification tag, file or DNS record they added.
Step 4: Submit your sitemap
Most sites have an XML sitemap, usually at yourbusiness.com/sitemap.xml. Type that into a browser first. If it loads, open the Sitemaps report in Search Console, enter the address and submit it. If it returns an error, that is the first thing to fix. Our small business website checklist covers what else should be in place at launch.
A sitemap does not force Google to index anything. It tells Google which URLs you consider important, which matters most for new sites and pages that few other pages link to yet.
Step 5: Connect it to Google Analytics (optional, worth it)
If you use Google Analytics 4, you can link the two in Analytics' admin settings. Analytics then shows search queries alongside what those visitors did on your site. The same 16-month limit applies, because Analytics reads that data from Search Console rather than storing its own copy.
The four reports worth reading
Search Console has a lot of menus. A small business owner needs four of them.
1. Performance
This shows clicks, impressions, click-through rate (clicks divided by impressions) and average position. Google defines average position as the average position of the topmost result from your site, so one page ranking well can carry the number for the whole query.
The report defaults to the last three months; you can widen it to the full 16. Two habits make it useful:
- Look at queries where you rank roughly 8 to 20. Those are pages Google already considers relevant that sit just out of view. Improving them is usually quicker than ranking a new page from nothing.
- Do not read individual queries as a promise. Google says that even if a query appears in your list, you might not see your site if you search for it yourself, because results are personalised.
One caution if you are comparing year on year in 2026: Google has published a data anomaly notice explaining that a logging error meant impressions were not reported accurately from 13 May 2025 until 27 April 2026. Only impressions and the metrics derived from them, CTR and average position, were affected; clicks were not. If your impressions look as though they fell off a cliff, compare clicks before you panic.
2. Pages (the page indexing report)
This splits your URLs into indexed and not indexed, with a reason for each. Start with one sentence from Google's own documentation: "Don't expect every URL on your site to be indexed." Duplicates, redirects and thin pages are supposed to be left out.
The reasons you will see most often, in Google's words:
- Page with redirect: a URL that redirects elsewhere. Normal, and nothing to fix.
- Alternate page with proper canonical tag: Google found a duplicate that correctly points to the main version. Google's own note says "there is nothing you need to do".
- Duplicate without user-selected canonical: Google decided this page duplicates another and chose the other one. Worth a look if the page Google chose is not the one you want ranking.
- URL marked "noindex": the page tells Google not to index it. Correct for login and thank-you pages; a serious problem if it is your services page.
- Discovered – currently not indexed: Google found the URL but has not crawled it yet, typically because crawling then was expected to overload the site.
- Crawled – currently not indexed: Google crawled the page and chose not to index it for now. Google says there is "no need to resubmit this URL for crawling". If an important page sits here for weeks, the fix is usually making it more useful, not asking again.
The only question that matters in this report: are any pages you actually want customers to find in the "not indexed" list? Your homepage, service pages, location pages and best articles. Everything else is usually noise.
3. URL Inspection
Paste any URL from your site into the search bar at the top. Search Console shows whether that page is indexed, the canonical Google chose, and when it was last crawled. The live test fetches the current version as Google would see it, which is how you confirm a fix before waiting for a recrawl.
The Request indexing button is useful but oversold. Google says there is a daily limit on requests, and that submitting one "does not guarantee that the page will appear in the Google Index". Indexing typically takes a day or so but can take much longer. Use it for a new service page or a corrected price, not every URL on the site.
4. Security issues and manual actions
Both should say no issues detected. If either ever does not, it outranks everything else in this guide. A hacked site or a manual penalty can remove pages from Google entirely. Search Console emails verified owners when these appear, which is one more reason the owner should be an inbox someone actually reads.
A fifteen-minute monthly routine
- Open Performance, set the range to the last 28 days, and compare with the previous period. Note clicks first, impressions second.
- Sort queries by impressions and look for searches you rank for on page two. Pick one page to improve this month.
- Open Pages and scan the "not indexed" reasons for anything important.
- Check Security issues and Manual actions say nothing is wrong.
- If you are paying for SEO, ask your provider to walk you through the same four screens. If they cannot, or will not give you access, that tells you something.
When you change your website
Search Console matters most during a redesign or a domain change. It is where you submit the new sitemap, watch for the old URLs to drop out, and, for a new domain, use the Change of Address tool. Our guide to redesigning a website without losing SEO covers that process step by step. And because several AI assistants retrieve from indexes other than Google's, it is worth importing your Search Console setup into Bing Webmaster Tools as well; we explain why in how to get your business found in AI search.
Need a hand?
Setting up Search Console is part of every website we launch and every SEO engagement we take on, always under the client's own Google account. If yours is missing, stuck under someone else's login, or full of warnings you do not understand, get in touch and we will help you sort it out.